Frozen Breakfast Burritos
- Sarah Fowler
- Apr 3, 2016
- 3 min read
So I worked at McDonald's for three years before I moved. My favorite shift (and my main shift) was the morning shift on the weekends! They started out so calm and peaceful, just a few customers until around 9, when it started to pick up. It was a nice way to start my mornings, believe it or not. Anyways, every morning before my shift, I would come to work about 10 minutes early, buy a burrito, and sit in the office and enjoy it until the start of my shift! While those burritos are absolutely delicious, they aren't the healthiest, and I was wasting so much money, even though I got a discount... Now that I don't work at McDonald's anymore, I still crave those damn burritos, but sometimes don't want to drive all the way to McDonald's or eat that fast food, or even spend the money! I found the recipe on Facebook, of course, and just decided to go for it! The original recipe can be found here, and also listed below. Let me know what you think :)

Frozen Breakfast Burritos
Ingredients:
~Bacon
~Sausage (I completely forgot to buy some so mine didn't have sausage)
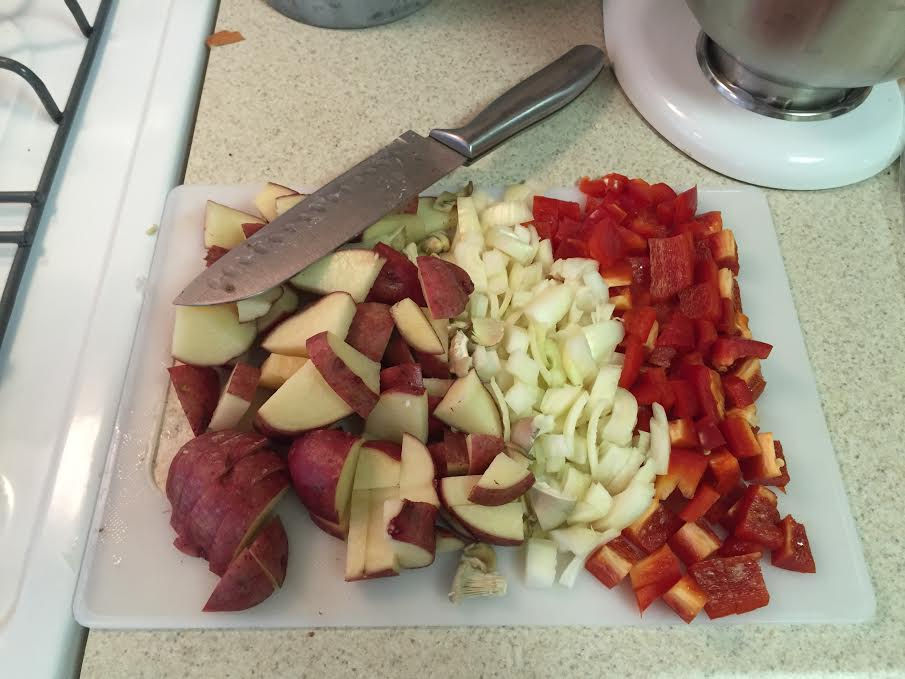
~Baby Red Potatoes, quartered
~1 Red Pepper, chopped
~1 Yellow Onion, chopped
~Salt and Pepper
~10 Eggs - beaten
~1 Bag Shredded Cheese
~1 Bunch Green Onions, sliced (I knew Cory wouldn't like these so I didn't use them)
~Flour Tortillas
~Parchment Paper
Directions

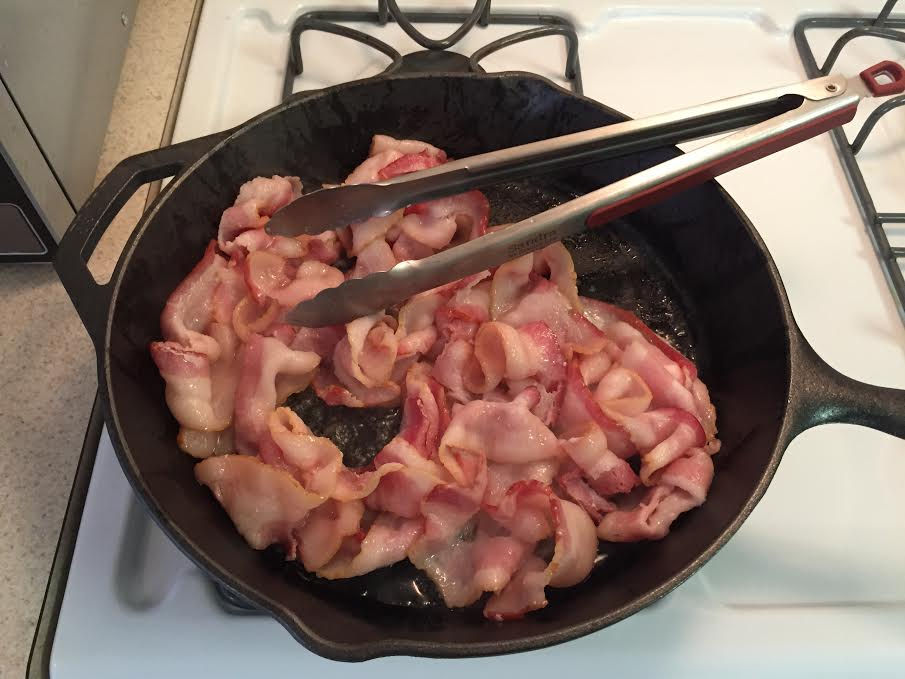
1. In a large skillet over medium heat, cook bacon (in batches if necessary) until crispy. Remove the bacon to a paper towel lined plate - leave to cool.
2. In the same skillet - using leftover bacon grease (drain some if necessary) add the potatoes and season with salt and pepper. Once lightly browned add in peppers and onion. Cook until potatoes have browned and the peppers and onions have softened. Remove from pan and place in bowl to cool.
3. In the same saucepan, cook sausage until browned and cooked through. Remove to a paper towel lined bowl.

4. Finally, reduce heat to medium/low and pour beaten eggs into the skillet. Fold and stir eggs occasionally until cooked but still soft and moist. Remove from pan.
5. Gather cooked ingredients - having let them all cool slightly. Additionally gather flour tortillas, shredded cheese and sliced green onions (optional) and set them out on your table.
6. To assemble the burritos, lay out a tortilla and start with a base of eggs followed by desired toppings and finish with cheese.

7. To wrap, fold in both sides and then fold the bottom up and over all the ingredients. Roll up tightly. (If you find the tortillas are tearing, heat them up - a few at a time - for 20 seconds in the microwave before assembling). Wrap up in parchment paper and repeat with remaining tortillas and ingredients, customizing the burritos to your liking.
8. Place the parchment-wrapped burritos in a 1 gallon freezer bag and place in the freezer to store for up to one month.
To reheat: Remove the frozen burrito from the freezer. Unwrap from parchment paper and wrap the frozen burrito up in a damp paper towel. Place on a microwave safe plate and microwave for 3 minutes. Remove from microwave and rest for one minute before unwrapping. Remove the paper towel, serve with hot sauce, salsa, or sour cream! Enjoy!

As you can tell, this kind of requires a lot of steps HOWEVER spending just two (or so)

hours on your sleepy Sunday morning, you could save yourself so much time and money during the week. No more buying breakfast on the go, no more eating unhealthy fast food, and no more trying to figure out what you're going to eat every morning! I will tell you, I have yet to try these, as I just made them this morning for Cory for the rest of the week, but I will definitely let you guys know how much I love them!
~S
I had some helpers in the kitchen with me this morning! They were too cute to not share!


Comments